The installation of a countertop sink begins with your interest as a DIY. The step in enhancing your countertop has the potential to transform the look and functionality of your space. If you're thinking of replacing an existing sink or adding a new one to a fresh countertop, then this blog can be helpful for you!
This particular guide on ‘How to Install a Countertop Sink’ helps the ‘DIYer’ walk through the steps to ensure a successful installation.
Tools and Materials You'll Need
Tools:
1. Adjustable wrench
2. Screwdriver
3. Pipe wrench
4. Plumber's tape (Teflon tape)
5. Hacksaw
6. Plumber's putty
7. Silicone caulk
8. Level
9. Measuring tape
10. Bucket
11. Pencil
12. Safety glasses and gloves
Materials:
1. Countertop sink
2. Faucet and faucet hardware
3. Drain assembly kit
4. Water supply lines
5. PVC pipe and fittings (if needed)
6. Sink clips or brackets (if needed)
7. Mounting hardware for countertop sink and faucet
Easy DIY Guide: 12-Step Countertop Sink Installation
Step 1 - Prepare the Area
Start by clearing the countertop of any items and place a bucket or towel underneath the existing sink plumbing to catch any water when you disconnect it. Turn off the water supply valves underneath the sink.
Step 2 - Remove the Old Sink
Use your adjustable wrench to disconnect the water supply lines from the old sink's faucet. Ensure the bucket or towel is underneath to catch any residual water. Next, disconnect the drain pipes by loosening the slip nuts with the pipe wrench. Remove any mounting hardware or clips securing the sink to the countertop.
Step 3 - Clean the Area
Once the old sink is detached, make sure to thoroughly clean and pitch dry the countertop before proceeding. Remove any old caulk or adhesive before you continue with the new sink installation.
Step 4 - Measure and Mark
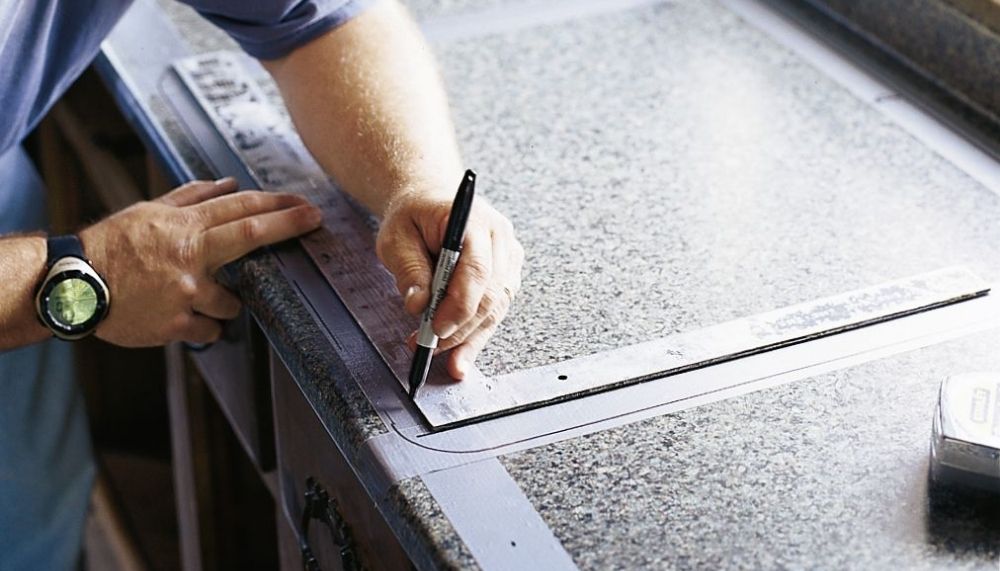
Measurement and marking are crucial stages for the sink installation. Measure the dimensions of your new countertop sink accurately and mark the exact placement on the countertop area. Ensure that the sink will fit comfortably and that the faucet holes align correctly.
Step 5 - Install the Faucet
The new sink will require drilling work if it doesn't have pre-drilled faucet holes. Safeguard yourself before operating the hole saw or a spade bit appropriate for the faucet size. Follow the manufacturer's instructions clearly while faucet installation, securing it properly to the sink or countertop.
Step 6 - Assemble the Drain
Go through the manufacturer’s instructions before assembling the drain kit. Wrap the threads of the drain pipe with the plumber's tape to ensure a watertight seal. Insert the drain pipe into the sink's drain hole, securing it with the provided gasket and nut from underneath the sink. Tighten the nut with a wrench to create a snug fit.
Step 7 - Mount the Sink
Before fixing it completely, on the initial to check the level, go and place the sink into the cutout on the countertop. Some sinks come with mounting hardware, such as clips or brackets, to secure them to the countertop.
If no hardware is provided, apply a bead of the plumber's putty or silicone caulk around the edge of the sink to create a watertight seal with the countertop.
Step 8 - Connect the Drain Pipe
Start with connecting the drain pipe to the P-trap and secure it with the slip nuts. Ensure all connections are tight to prevent leaks. Get your hands on the hacksaw, if only necessary, to trim the tailpiece of the drain pipe and adjust it to the correct length.
Step 9 - Attach Water Supply Lines
The water supply lines are to be attached to the faucet and while following the process, shut off valves under the sink as a precaution. Secure the connections using an adjustable wrench, exercising caution to avoid over-tightening, which could potentially harm the threads.
Step 10 - Test for Leaks
Turn on the water supply valves and check for any leaks around the faucet and drain connections. Tighten any loose connections as needed.
Step 11 - Apply a Bead of Silicone Caulk
Take the silicone caulk and apply a single bead around the edge of the sink. The bead must be placed right where it meets the countertop. Smooth the caulk with your finger for a clean finish and to prevent water from seeping underneath the sink.
Step 12 - Clean Up and Enjoy
Lastly, clean up the area, and keep a close eye on any tools and small materials being left out. Followed by wiping down the sink and countertop to remove any residue. Your new countertop sink is now installed and ready to use!
Final Word
By following this step-by-step guide for countertop sink installation and being meticulous with your measurements and connections, one gets to enjoy your new sink for years to come. If you ever encounter difficulties during the countertop wash basin installation process, don't hesitate to seek the assistance of a professional.


