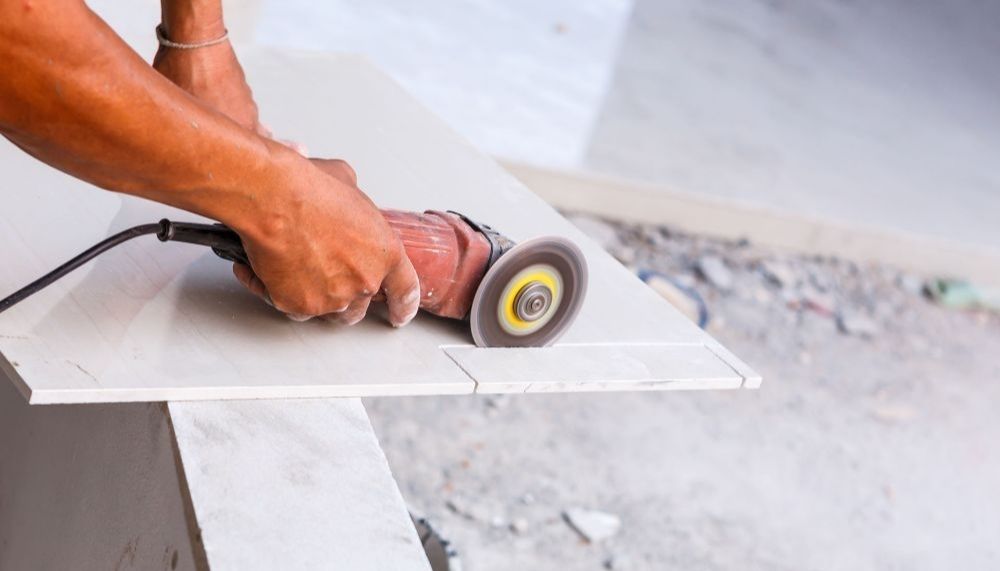
Porcelain tiles are an excellent choice for achieving amazing design and aesthetics in the house. When utilized correctly, these tiles may bring your ideal décor to life. However, in order to get an exquisite design, porcelain tiles must be cut appropriately. Irregular and uneven cuts can cause tile chipping and cracking. To cut porcelain tiles without chipping, you must follow thorough guidance.
Today, we'll talk about the best way to cut porcelain tiles in real-time. So let's see how can porcelain tiles be cut into precise pieces without chipping.
How to Cut Porcelain Tiles Without Chipping: Step-by-Step Guide
1. Measure and Mark
While cutting porcelain tiles, accuracy is of utmost importance. A simple wrong cut can badly affect the orientation and design of the tiles. Therefore, it is a good solution to mark outlines on the tiles before cutting. This will help you to cut tiles into accurate dimensions and also help you to prevent chipping. Therefore, measuring the tiles and marking them with a perfect outline is essential to prevent chipping and waste of material.
2. Apply Tape
After marking, painter's tape should be used to cover the designated areas. This will assist you in maintaining uniformity when cutting and will result in accurate cuts. You must ensure that the tape is correctly put on the designated lines for this. To achieve flawless cuts, use tape around the designated area to prevent undesired cuts.
3. Set up the Tile Cutter
Now here is one of the most crucial steps, which is choosing the tools to cut porcelain tiles and setting it up in a perfect way. If this step goes wrong, the possibility of chipping increases manifold. Manual cutters are the most common tool used to cut porcelain tiles. But when it comes to precision cutting that involves angular cuts and different dimensions, it becomes a little difficult to handle manual cutters.
That's why wet saws and diamond head cutters are becoming popular and are considered the best tools to cut porcelain tiles without chipping. But before starting cutting make sure that you have a clean and steady setup. Strictly follow the manual guide to set up the cutter.
4. Snap the Tile
After assembling the tile cutter, it's time to get down to business, i.e. cutting. However, before cutting the tiles, be certain that you are completely safe. To avoid harm, wear gloves and safety glasses. Now, let's have a look at some basic cutting procedures:
- Turn on the blade and slowly move it over the marked lines on the tiles.
- Keep a gentle pace to maintain pressure and keep the blade steady throughout the whole process.
- For manual cutters use the handle to score the tiles along the marked lines.
- For a wet saw ensure the water continuously moves to the blade to prevent chipping.
5. Smooth Edges
Give a finishing touch to the tiles by smoothening their edges just after cutting. Smooth edges ensure precise joints during installation. Remember to smooth the tiles along the tape so that there will be no waste of material. Also, make sure to remove sharp and uneven areas to avoid cracking and injuries during installation.
6. Clean Up
In the final step remove the tapes from the tiles surface. Clear away dust and debris accumulated during cutting. Cleaning is very important otherwise this unwanted accumulation can lead to the chipping of tiles in the future.
Conclusion
Cutting porcelain tiles is a very sensitive activity and requires a lot of attention and patience. For this, you will have to strictly follow the steps and safety measures given above. If you have confusion anywhere then definitely talk to an expert.


